Rode-microphones NT6 Manuel d'utilisateur
Naviguer en ligne ou télécharger Manuel d'utilisateur pour Microphones Rode-microphones NT6. RODE Microphones NT6 User Manual Manuel d'utilisatio
- Page / 12
- Table des matières
- MARQUE LIVRES
- Instruction Manual 1
- Introduction 2
- Specifi cations 3
- Features 5
- Accessories 5
- Mounting the NT6 6
- Connecting 8
- Using the NT6 10
- Warranty 12
Résumé du contenu
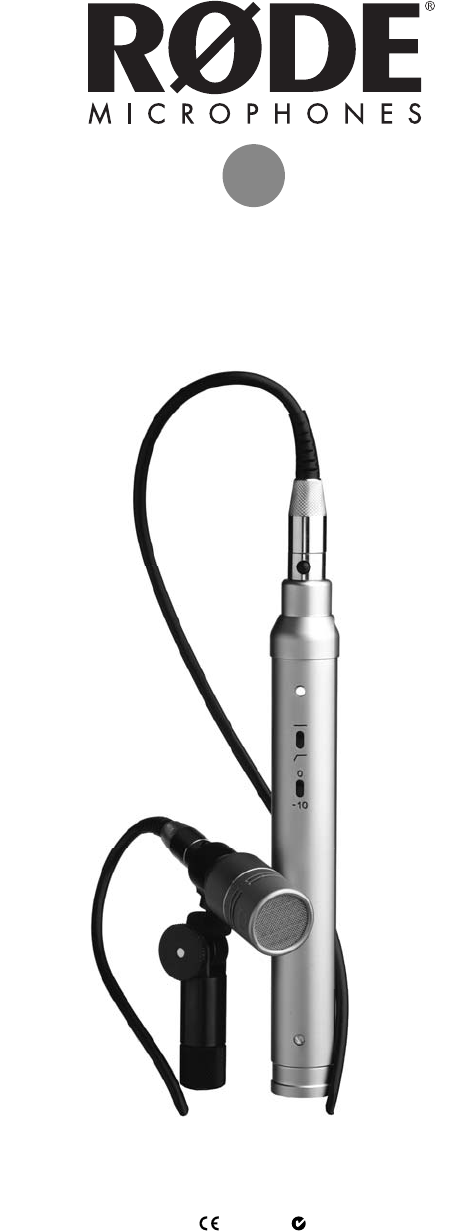
(EMC, LVD)NT6Instruction Manualwww.rodemic.com
- 10 -Using the NT6• The NT6 is a phantom powered microphone. To operate correctly it requires a 24V or 48V phantom supply from the mixing console or
Using the NT6Storage- 11 -• After use the NT6 head should be wiped with a dry, soft cloth, and both head and body placed in the protective case.• Be
- 12 -- 12 -WarrantyAll RØDE microphones are warranted for one year from date of purchase. You can extend that to a full ten years if you register onl
- 2 -IntroductionWe at RØDE would like to thank you and congratulate you on investing in the RØDE NT6 Compact Condenser Microphone with Detachable Cap
- 3 -Specifi cationsAcoustic Principle:Pressure gradientDirectional Pattern:Cardioid (see graph)Frequency Range:40Hz-20kHz, selectable HPF @ 80Hz/12dB/
- 4 -Specifi cationsFrequency ResponseDimensionsPolar Response88.5 mm (2 4/8”)Ø 20 mm (13/16”)Ø 20 mm (13/16”)188.4 mm (7 3/8”)64 mm (2 1/2”)Ø 18 mm 18
- 5 -Features• Externally biased condenser• Gold sputtered 1/2” capsule• Two position PAD - 0dB and -10dB• Two position High-Pass Filter - fl at an
- 6 -• The NT6 is supplied with a selection of fi ttings and adaptors designed to ease positioning and mounting. The NT6 head attaches to a 2-axis swi
- 7 -Mounting the NT6• With the capsule securely in position, you are ready to connect and position the pre-amplifi er (body) as required. Like the he
- 8 -Connectingthe miniature cable• With the head and pre-amplifi er in position and the XLR cable connected to the back of the pre-amplifi er, it is t
- 9 -Connecting the miniature cable– The miniature connection cable is Kevlar® fi bre reinforced and designed to withstand considerable tensile and co
Produits connexes et manuels pour Microphones Rode-microphones NT6
 (8 pages)
 (22 pages)
 (22 pages)
 (22 pages)
 (22 pages)
© 2020, manymanuals.fr. Tous droits réservés | 0.851 s |
 Manymanuals.com
 Manymanuals.de
 Manymanuals.fr
 Manymanuals.it
 Manymanuals.pl
 Manymanuals.cz
 Manymanuals.es
 Manymanuals-pt.com
Commentaires sur ces manuels